
Choosing truck colours for the calendar
Pick truck colours from the twelve presets or a custom hex, and know where each colour shows up.
Every truck needs a colour — it is required, and it defaults to red. It is how you read your fleet at a glance.
Set it at Fleet > Trucks → click a truck → Truck Color.
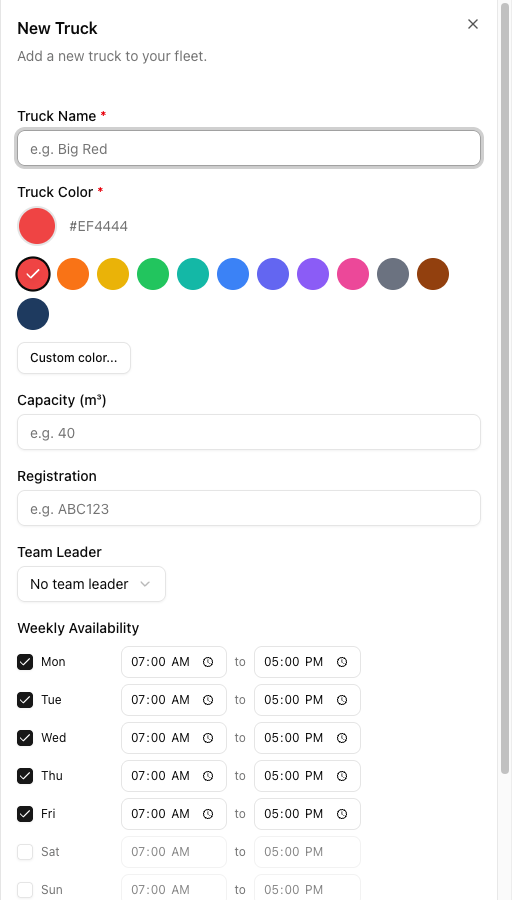
The twelve presets
Red (the default), orange, yellow, green, teal, blue, indigo, violet, pink, gray, brown, and navy.
For anything else, click Custom color... for a colour wheel and a hex field.
Nothing stops two trucks sharing a colour. VanMan will not warn you, and duplicates make your calendar genuinely harder to read. Check the Color column on the trucks list after adding a vehicle — it is the fastest way to spot a clash.
Also watch the adjacent presets: red/orange/yellow and blue/indigo/violet are close enough to blur at small sizes. Reach across the palette rather than one step along it.
Where the colour actually appears
This is the part worth getting right, because the calendar is subtler than you would guess.
On calendar job blocks — as the bottom border. The left border is the job's status colour, and the block body is white.
Truck colour does not fill the block. Two colours, two edges: status on the left, truck along the bottom.
An admin can change this with Use truck color as job background at Settings > Calendar — but it is account-wide, and Override background color with tags beats it, so a tagged job takes its tag's colour instead. If your blocks are not the colours you expect, check those two settings.
Only the primary truck's colour shows. A job with three trucks looks identical to a job with one on the calendar — you only see the primary. Multi-truck badges exist on the job page, not the grid.
Elsewhere: the Color dot on the trucks list; the marker on Fleet > Live Map (which greys out when a truck goes stale); the calendar's truck filter legend; truck badges and crew dots on the job page; and the route lines on the Day Plan.
The Trucks view
For a genuine per-truck layout, use the Trucks calendar view — one column per vehicle, headed by its colour. Colour matters less there because position does the work.
Tutorial: recolour a fleet nobody can read
Six trucks, and the week is a blur.
Go to Fleet > Trucks. The Color column puts every truck's colour side by side — the only place you can see them all at once.
Look for pairs that are close: two oranges, a red and an orange, a blue and an indigo. Those are the ones costing you.
Click a clashing truck, open Truck Color, and pick a preset from the far side of the palette. Red → teal, not red → orange. Click Update Truck.
Custom color... takes a hex, which is tempting for branding. Resist it unless the brand colour is genuinely distinct — a calendar is not a brand asset, and legibility beats fidelity here.
Open the Calendar on your busiest week. Remember you are looking at a thin bottom border, not a filled block — that is a small target, which is exactly why near-identical colours fail.
If you still cannot tell them apart, go back and change them again.
Tempted by Use truck color as job background? Think about it first. It is account-wide, and it costs you the at-a-glance read on status — your left borders stop mattering.
A dispatcher wants trucks. An owner chasing TBC jobs wants status. Pick for whoever uses the calendar most; you cannot have both as the fill.
Open Fleet > Live Map. Markers carry the same colours. Trucks that are hard to tell apart on the calendar are hard to tell apart here as well — one fix, two surfaces.