
Setting up your online booking form
Create and activate a booking form so customers can submit enquiries from your website.
A booking form lets customers submit enquiries from your website straight into Requests. You set one up at Settings > Booking Forms (the Website settings group).
There is no single global "enable the booking form" switch. You create named forms, and each has its own Active toggle. There is no on/off for "the booking form" as one thing — there is only "is this form active?".
Create a form
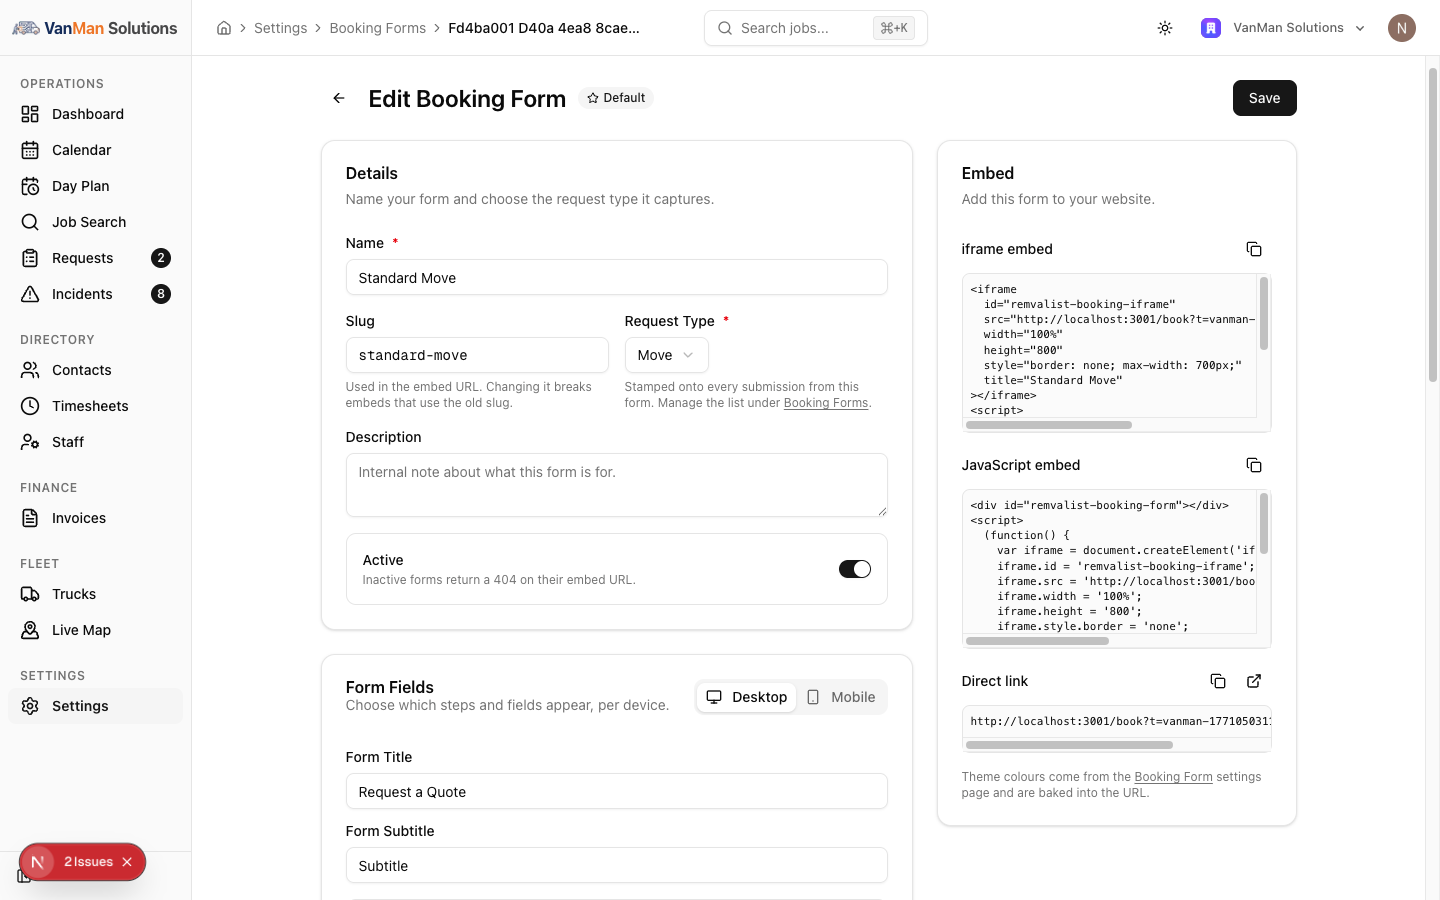
Click New Form. Give it a Name, a Slug (used in the embed URL), and a Request Type (stamped onto every submission). Set Active on.
Configure it
- Form Title and Form Subtitle — what the customer sees at the top (default "Request a Quote").
- Form Fields — which steps and fields appear, per device. See choosing which fields appear.
- Advanced Features — optional extras like maps, AI item capture, and QR hand-off.
- Embed — the code to put it on your site.
Bot protection
The form is protected by Cloudflare Turnstile — a verification check before the customer can submit. In most cases it passes on its own without them solving anything, but it is a visible check, not invisible, and submission is blocked until it clears. It stays active even if you switch the review step off.
Where submissions go
Every submission arrives on Requests as a New booking request. Note there is no email notification by default — the signal is the in-app count. See managing incoming enquiries.
Tutorial: get your first form live
From nothing to a working form on your site.
Settings > Booking Forms → New Form. Name it Get a Quote, set a slug like quote, and a Request Type of Move.
Set Form Title to something inviting — Get a moving quote — and a reassuring Form Subtitle. This is the first thing a visitor reads.
In Form Fields, keep it focused: names (locked anyway), contact details, and the two addresses. You are capturing a lead, not a full brief — you can gather the rest when you call.
Turn Active on. This is the step that makes it live — remember there is no global enable, just this per-form toggle. An inactive form 404s when embedded.
Click Save. Now the Embed panel appears — copy the iframe embed onto your website. See embedding the form.
Submit the live form yourself. It clears the Turnstile check, and your test lands on Requests as New. Seeing it arrive is your confirmation the whole chain works.
Since there is no email on new enquiries, decide now how your team will catch them — watching the Requests badge, or a Booking Request Created workflow that emails you. Set that up before the real enquiries start.